StartupMachine's SVG Optimizer tool interface
Scalable Vector Graphics (SVG) are an essential part of modern web design, offering resolution independence and small file sizes compared to raster images. However, many SVG files contain unnecessary code, metadata, and comments that increase file size without adding visual value. Optimizing your SVGs can significantly improve your website's loading speed and overall performance.
In this comprehensive guide, we'll explore how to optimize SVG files using our free online SVG Optimizer tool. You'll learn how to reduce SVG file sizes without losing quality, understand the various optimization options, and implement best practices to enhance your website's performance.
Key Takeaways
- Understand why SVG optimization is crucial for web performance
- Learn how to reduce SVG file sizes by up to 50% without quality loss
- Master step-by-step SVG optimization using our free tool
- Understand various optimization options and when to use them
- Discover best practices for implementing SVGs in your web projects
Why Optimize SVG Files?
SVG files are XML-based vector images that can be created and edited with any text editor. Despite their inherent advantages over raster formats, raw SVG files often contain unnecessary data:
- Editor metadata (from design tools like Adobe Illustrator, Sketch, etc.)
- Comments and unused elements
- Excessive precision in path coordinates
- Inefficient path data
- Redundant transformations
Removing this unnecessary data provides several benefits:
- Faster Page Loading: Smaller file sizes lead to quicker downloads and rendering
- Reduced Bandwidth Usage: Particularly important for mobile users and those with limited data plans
- Improved Core Web Vitals: Better performance metrics that can positively impact SEO
- Cleaner Code: Easier to understand and maintain optimized SVG code
Did You Know?
SVG optimization can often reduce file sizes by 30-70% without any visual changes to the image. For websites with many SVG assets, this can significantly improve loading times and user experience.
SVG Optimization: Step-by-Step Guide
Step 1: Access the SVG Optimizer Tool
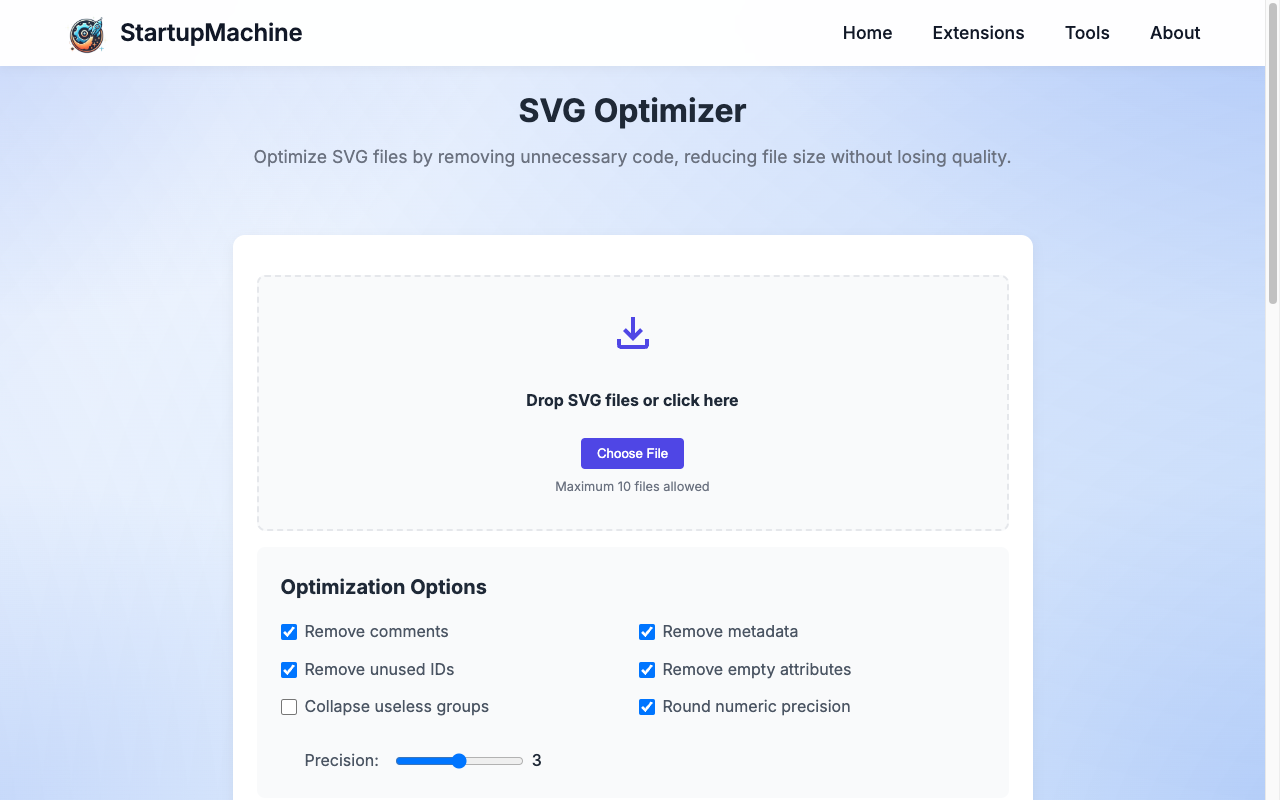
Start by visiting our SVG Optimizer tool. The interface is simple and straightforward, designed to make optimization quick and easy, even for beginners.
The SVG Optimizer tool's main interface
Step 2: Upload Your SVG File
You can upload your SVG file in two ways:
- Click the upload area to browse for your SVG file
- Drag and drop your SVG file directly onto the upload area
The tool supports SVG files up to 5MB in size, which is sufficient for most web graphics.
Step 3: Configure Optimization Settings
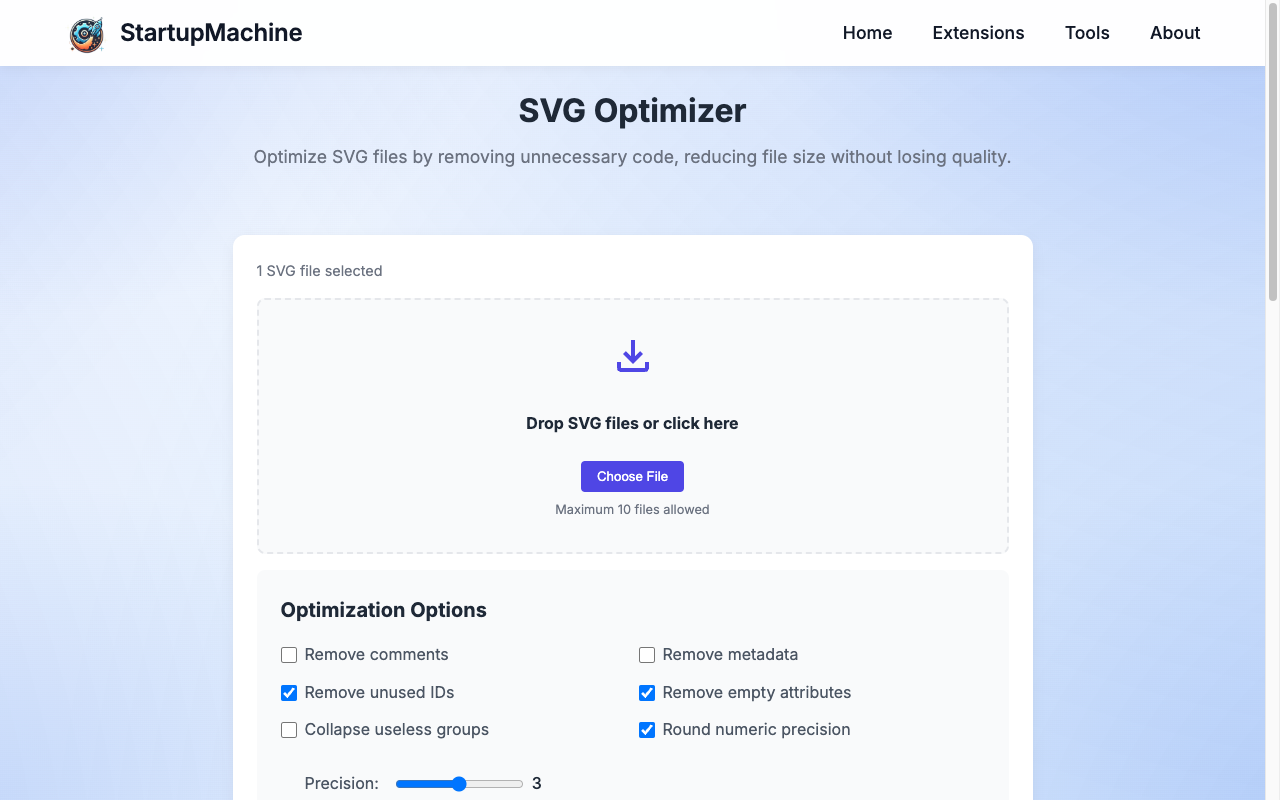
After uploading your SVG, you'll see various optimization options. These allow you to customize the optimization process based on your specific needs:

Configuring the optimization settings
Here's what each optimization option does:
| Option | Function | Recommended Setting |
|---|---|---|
| Remove Comments | Eliminates all comments in the SVG code | Enabled |
| Remove Metadata | Removes editor-specific metadata | Enabled |
| Remove Editor Namespaces | Removes namespaces related to editing tools | Enabled |
| Collapse Useless Groups | Removes unnecessary grouping elements | Enabled |
| Merge Paths | Combines compatible paths | Enabled |
| Clean IDs | Simplifies element IDs | Caution (if using CSS selectors) |
| Round Numbers | Reduces coordinate precision | Enabled (2-3 decimal places) |
Important Note
If your SVG contains elements that are targeted by CSS or JavaScript using IDs or class names, be careful with the "Clean IDs" option as it might break your functionality. In such cases, consider disabling this option.
Step 4: Preview the Results
After configuring the optimization settings, click the "Optimize SVG" button. The tool will process your file and display a preview of the optimized SVG alongside information about the size reduction achieved.
Preview of the optimized SVG with file size comparison
The preview allows you to visually confirm that the optimization hasn't affected the appearance of your image. You'll also see:
- Original file size
- Optimized file size
- Percentage of size reduction
Step 5: Download the Optimized SVG
Once you're satisfied with the optimization results, click the "Download Optimized SVG" button to save the optimized file to your computer. This file is now ready to be used in your web projects.

Downloading the optimized SVG with significantly reduced file size
Understanding SVG Optimization Options
To make the most of the SVG Optimizer tool, it's important to understand what each optimization option does and when to use it:
Remove Comments
Comments in SVG files (enclosed in <!-- -->) provide information for developers but are ignored by browsers. Removing them reduces file size without affecting functionality.
Before:
<svg>
  <!-- This circle represents the sun -->
  <circle cx="50" cy="50" r="40" fill="yellow"/>
</svg>
After:
<svg>
  <circle cx="50" cy="50" r="40" fill="yellow"/>
</svg>
Remove Metadata
Design tools often include metadata (<metadata> elements) with information about the creator, tool version, etc. This data isn't needed for rendering and can be safely removed.
Remove Editor Namespaces
Design applications add their specific XML namespaces (like xmlns:ai="http://ns.adobe.com/AdobeIllustrator/10.0/") to SVG files. These aren't needed for web display and can be removed to reduce file size.
Collapse Useless Groups
Design tools often create nested groups (<g> elements) that don't add any styling or functionality. Collapsing these groups simplifies the SVG structure without changing its appearance.
Merge Paths
Multiple <path> elements with the same attributes can often be combined into a single path, reducing redundancy in the SVG code.
Clean IDs
Design tools often generate long, complex IDs (like id="path123456789"). If these IDs aren't used for CSS or JavaScript targeting, they can be simplified or removed.
Round Numbers
SVG coordinates often have excessive decimal precision (like cx="50.00000762939453"). Reducing this precision to 2-3 decimal places significantly reduces file size with no visible difference.
Real-World Example: Before and After
Let's look at a practical example of SVG optimization to understand the potential benefits:
Before Optimization
- File size: 5.2 KB
- Contains design tool metadata
- Includes developer comments
- Has unnecessary groups
- Uses excessive precision in coordinates
After Optimization
- File size: 1.8 KB (65% reduction)
- All metadata removed
- Comments eliminated
- Streamlined structure
- Optimized coordinate precision
This size reduction may seem small for a single file, but when applied across dozens or hundreds of SVG assets on a website, the cumulative effect on performance is substantial.
Common SVG Optimization Issues
While SVG optimization is generally safe, there are a few situations where you might encounter issues:
Animation Effects
If your SVG contains SMIL animations or is animated with JavaScript, some optimization options might break the animations. In such cases, test the optimized SVG thoroughly before implementation.
Warning
Be extra cautious when optimizing SVGs that contain animations or interactive elements. Always test the optimized version to ensure functionality is preserved.
CSS Styling
If you target specific elements within your SVG using CSS selectors (especially IDs or classes), be careful with the "Clean IDs" option, as it might rename or remove these identifiers.
JavaScript Interactions
If your SVG is manipulated by JavaScript, optimization might remove or rename elements that your script depends on. Consider disabling certain optimization options in these cases.
Best Practices for SVG Optimization
To get the most out of SVG optimization, follow these best practices:
Start Clean
Begin with well-structured SVGs from your design tools. Configure your export settings to produce cleaner SVGs with fewer unnecessary elements.
Optimize for Purpose
Consider how the SVG will be used in your project. More aggressive optimization can be applied to decorative icons, while interactive SVGs might need more conservative settings.
Batch Processing
For projects with many SVGs, consider batch optimization with consistent settings to ensure a cohesive approach across all assets.
Test Across Browsers
Always test your optimized SVGs across different browsers to ensure consistent rendering, especially for complex illustrations.
Consider Inline vs. External SVGs
For small, frequently used icons, consider inlining the optimized SVG directly in your HTML to eliminate HTTP requests. For larger, less frequently used SVGs, external files might be more appropriate.
Accessibility
Don't forget to maintain accessibility attributes like aria-label or title elements when optimizing SVGs used for meaningful content.
Conclusion
SVG optimization is a vital step in modern web development, offering significant performance improvements with minimal effort. Our SVG Optimizer tool provides a simple yet powerful way to reduce SVG file sizes while maintaining visual quality.
By following the step-by-step guide and best practices outlined in this tutorial, you'll be able to implement optimized SVGs that contribute to faster-loading, more efficient websites. Remember that even small file size reductions add up across your entire site, leading to meaningful performance improvements and a better user experience.
Ready to Optimize Your SVG Files?
Visit our SVG Optimizer to reduce file sizes and improve your website's performance with just a few clicks.
Try SVG Optimizer