StartupMachine's Image Compressor tool interface
Introduction to Image Compression
Images are one of the most significant contributors to page weight and loading time on websites. While high-quality visuals are essential for engagement and user experience, unoptimized images can significantly slow down your site and affect your SEO rankings. This is where image compression comes in.
Image compression is the process of reducing the file size of an image while trying to maintain its visual quality. It works by eliminating redundant image data or by removing some image details that are less noticeable to the human eye. The goal is to find the sweet spot between file size and image quality.
In this guide, we'll explore how image compression works, why it's crucial for web performance, and provide a step-by-step walkthrough of how to use StartupMachine's Image Compressor tool to optimize your images for the web.
Why Image Optimization Matters
Before diving into compression techniques, let's understand why optimizing images is so important:
- Faster Page Loading Speed: Smaller image files load faster, improving your website's overall performance.
- Better User Experience: Users don't like waiting. Pages that load quickly have lower bounce rates and higher engagement.
- Improved SEO Rankings: Page speed is a ranking factor for search engines like Google. Faster sites often rank higher.
- Reduced Bandwidth Costs: For sites with high traffic, optimized images can significantly reduce bandwidth costs and server load.
- Better Mobile Experience: On mobile devices with limited data plans, optimized images load faster and use less of the user's data allowance.
According to HTTP Archive, images make up on average 50% of a webpage's total weight. By optimizing your images, you can dramatically reduce this weight and improve your site's performance.
Did you know? A 1-second delay in page load time can lead to a 7% reduction in conversions, 11% fewer page views, and a 16% decrease in customer satisfaction.
Types of Image Compression
When it comes to image compression, there are two main types: lossy and lossless compression. Each has its advantages and is suitable for different scenarios.
Lossy Compression
Lossy compression reduces file size by permanently removing certain information from the image. It identifies visual data that is less perceptible to the human eye and discards it. This results in a smaller file size but at the cost of some quality reduction.
The more you compress using lossy methods, the more quality you lose. However, with carefully chosen compression settings, the quality loss can be minimal or even imperceptible to the average viewer.
Examples of lossy formats include JPEG, WebP, and AVIF. These formats are ideal for photographs and complex images with many colors.
Original image: 1.2MB
After lossy compression: 320KB (73% reduction)
Lossless Compression
Lossless compression reduces file size without removing any image information. The compressed image is identical to the original in quality, just with a smaller file size. This is achieved by identifying and eliminating statistical redundancy.
The downside is that lossless compression typically achieves less reduction in file size compared to lossy methods.
Examples of lossless formats include PNG, GIF, and certain modes of WebP. These formats are ideal for graphics with text, logos, and images with fewer colors or sharp contrasts.
Choosing the Right Image Format
One of the most important decisions for image optimization is selecting the right format for your specific needs. Here's a comparison of the most common web image formats:
JPEG/JPG
- Best for: Photographs and images with many colors and gradients
- Compression type: Lossy
- Pros: Widely supported, good compression for photos
- Cons: No transparency support, visible artifacts at high compression levels
PNG
- Best for: Images requiring transparency, screenshots, graphics with text, logos
- Compression type: Lossless
- Pros: Supports transparency, maintains sharp edges
- Cons: Larger file sizes for photographs
WebP
- Best for: Modern websites looking to optimize all types of images
- Compression type: Both lossy and lossless
- Pros: Better compression than JPEG and PNG, supports transparency
- Cons: Not supported in older browsers (though getting better)
AVIF
- Best for: Next-generation websites where maximum compression is required
- Compression type: Lossy and lossless
- Pros: Superior compression, excellent quality-to-size ratio
- Cons: Limited browser support currently
| Format | Best For | Compression | Transparency | Browser Support |
|---|---|---|---|---|
| JPEG | Photos | Lossy | No | Excellent |
| PNG | Graphics, logos | Lossless | Yes | Excellent |
| WebP | All types | Both | Yes | Good (94%+) |
| AVIF | All types | Both | Yes | Limited (70%+) |
Using the Image Compressor Tool
Now let's walk through how to use the StartupMachine Image Compressor tool to optimize your images for the web:
-
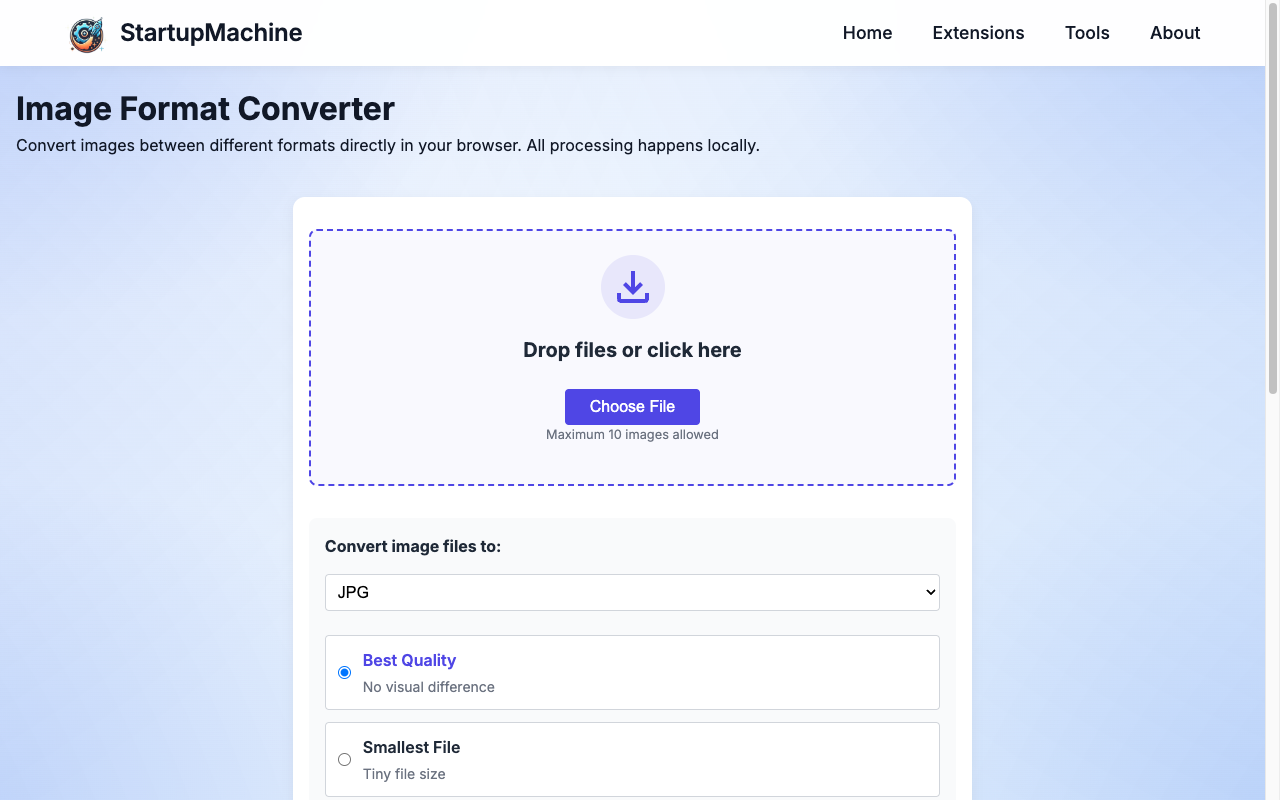
Access the tool: Navigate to the Image Compressor tool in your browser.
The Image Compressor tool interface
-
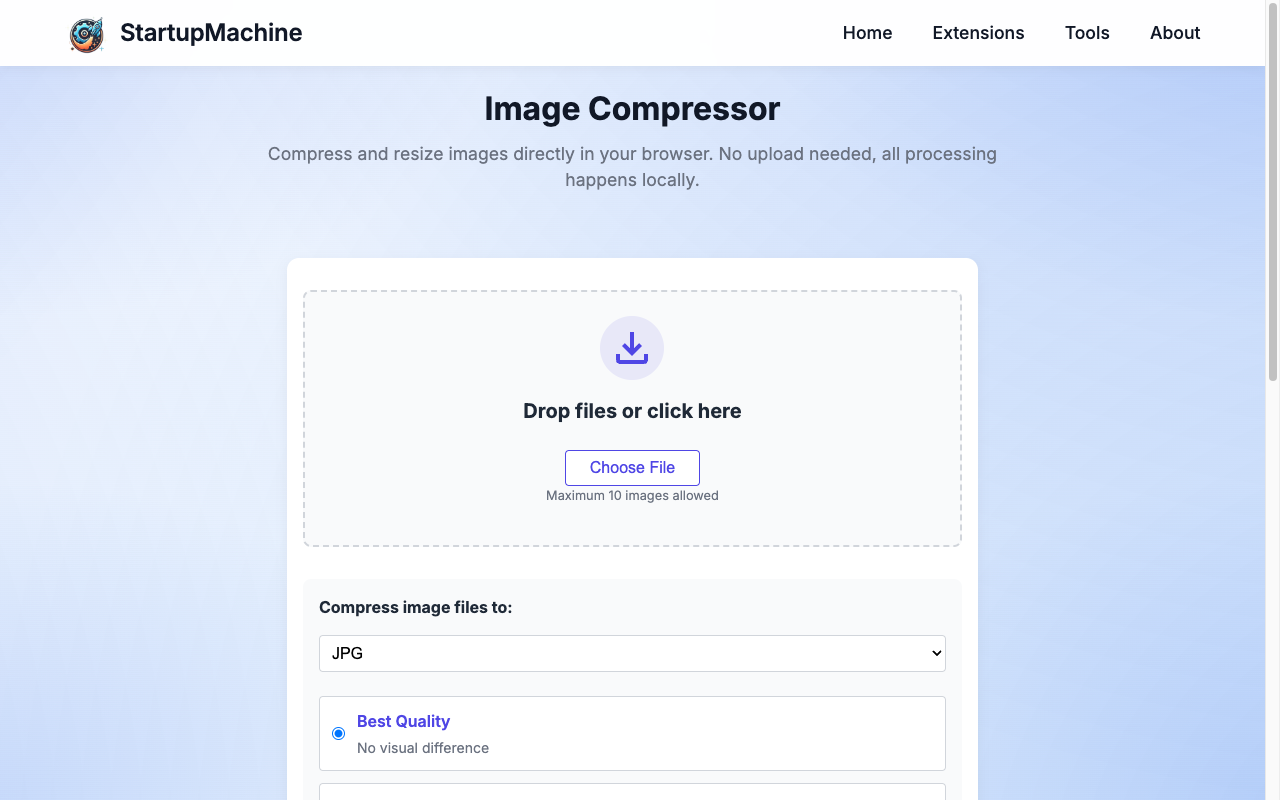
Upload your images: Either drag and drop your images into the upload area or click "Choose File" to select images from your device. You can select up to 10 images at once.
Privacy note: All compression happens directly in your browser. Your images are never uploaded to our servers, ensuring complete privacy.
-
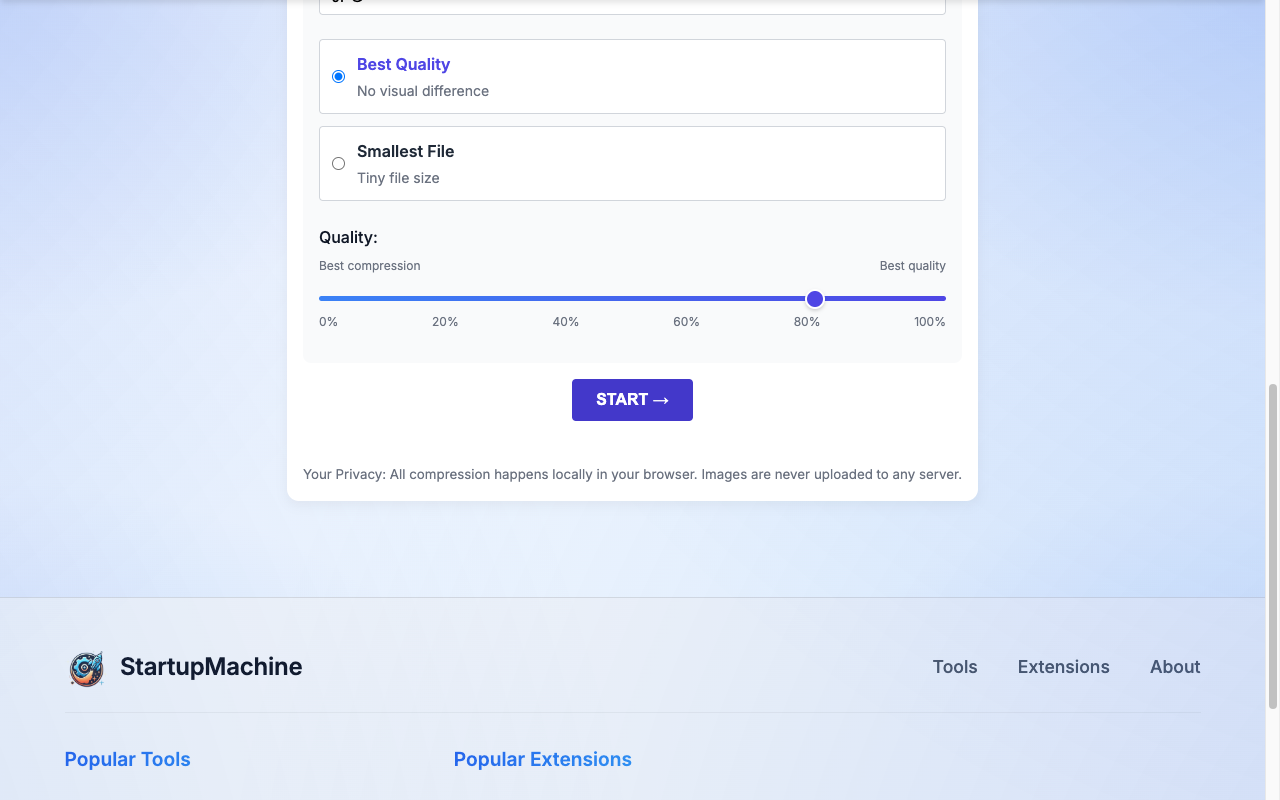
Choose your output format: Select the desired output format (JPG, PNG, or WebP) from the dropdown menu.
- For photographs, JPG or WebP typically works best
- For graphics with transparency, choose PNG or WebP
- For the best overall compression, WebP is recommended if browser compatibility isn't a concern
-
Select quality level: Choose between "Best Quality" (minimal visual difference), "Balanced" (good compromise between quality and file size), or "Maximum Compression" (smallest file size).
-
Review the results: After processing, you'll see a preview of each compressed image along with the original and new file sizes.
Compression results showing file size reduction
-
Download your optimized images: Click the download button for individual images or use the "Download All" button to get a ZIP file with all your compressed images.
Best Practices for Image Optimization
Beyond just compressing images, here are some additional best practices to ensure optimal image performance on your website:
-
Resize before uploading: Don't upload a 4000×3000 pixel image if it will only display at 800×600 on your website. Resize the image to the maximum dimensions needed before compression.
-
Use appropriate quality settings: For most web images, a quality setting of 70-80% offers a good balance between file size and visual appearance.
-
Remove metadata: Strip out unnecessary metadata (like camera information) from your images to further reduce file size.
-
Consider lazy loading: Implement lazy loading so images only load when they're about to enter the viewport, improving initial page load times.
<img src="image.jpg" loading="lazy" alt="Description" /> -
Use CDNs: Content Delivery Networks can serve images from servers closer to your users, reducing loading times.
-
Cache images: Set appropriate caching headers for your images so returning visitors don't need to download them again.
Responsive Images for Different Devices
Modern websites need to serve different image sizes to different devices to optimize performance. Here's how you can implement responsive images:
Using the srcset Attribute
The srcset attribute allows you to specify multiple versions of an image at different resolutions:
<img
  src="image-small.jpg"
  srcset="image-small.jpg 400w, image-medium.jpg 800w, image-large.jpg 1200w"
  sizes="(max-width: 600px) 400px, (max-width: 1200px) 800px, 1200px"
  alt="Description"
/>
Using the picture Element
The picture element provides more control, allowing you to serve different image formats based on browser support:
<picture>
  <source srcset="image.avif" type="image/avif">
  <source srcset="image.webp" type="image/webp">
  <img src="image.jpg" alt="Description">
</picture>
Automating Image Optimization
For websites with many images or frequent content updates, manual optimization can become time-consuming. Consider these automation options:
Build Process Integration
If you use a build system like Webpack, Gulp, or Grunt, you can integrate image optimization into your workflow:
// Example with Webpack and imagemin
module.exports = {
  // ... other webpack config
  module: {
    rules: [
      {
        test: /\.(jpe?g|png|gif|svg)$/i,
        use: [
          {
            loader: 'file-loader',
            options: {
              name: '[name].[ext]',
              outputPath: 'images/'
            }
          },
          {
            loader: 'image-webpack-loader',
            options: {
              mozjpeg: {
                quality: 75
              },
              pngquant: {
                quality: [0.65, 0.90],
                speed: 4
              },
              webp: {
                quality: 75
              }
            }
          }
        ]
      }
    ]
  }
};
CMS Integration
Many Content Management Systems have plugins or built-in features for image optimization:
- WordPress: Smush, ShortPixel, or Imagify plugins
- Shopify: Built-in image optimization
- Squarespace: Automatic image resizing and optimization
Image CDNs
Services like Cloudinary, imgix, or Cloudflare Images can automatically optimize and deliver images in the best format and size for each user:
<!-- Using Cloudinary -->
<img src="https://res.cloudinary.com/demo/image/upload/q_auto,f_auto/example.jpg" alt="Description" />
Conclusion
Image optimization is no longer optional for websites that aim to provide a great user experience. By properly compressing your images, you can significantly improve your site's performance, enhance user satisfaction, and potentially boost your search engine rankings.
The key is finding the right balance between file size and image quality. With the StartupMachine Image Compressor tool, you can easily optimize your images without sacrificing visual appeal, ensuring your website loads quickly while still looking great.
Remember these key takeaways:
- Choose the right format for your image type (JPEG for photos, PNG for graphics with transparency, WebP for modern websites)
- Compress images before uploading them to your website
- Consider implementing responsive images for different devices
- Automate your image optimization workflow when possible
Ready to Speed Up Your Website?
Try our free Image Compressor tool today and see the difference optimized images can make for your website's performance.
Try Image Compressor